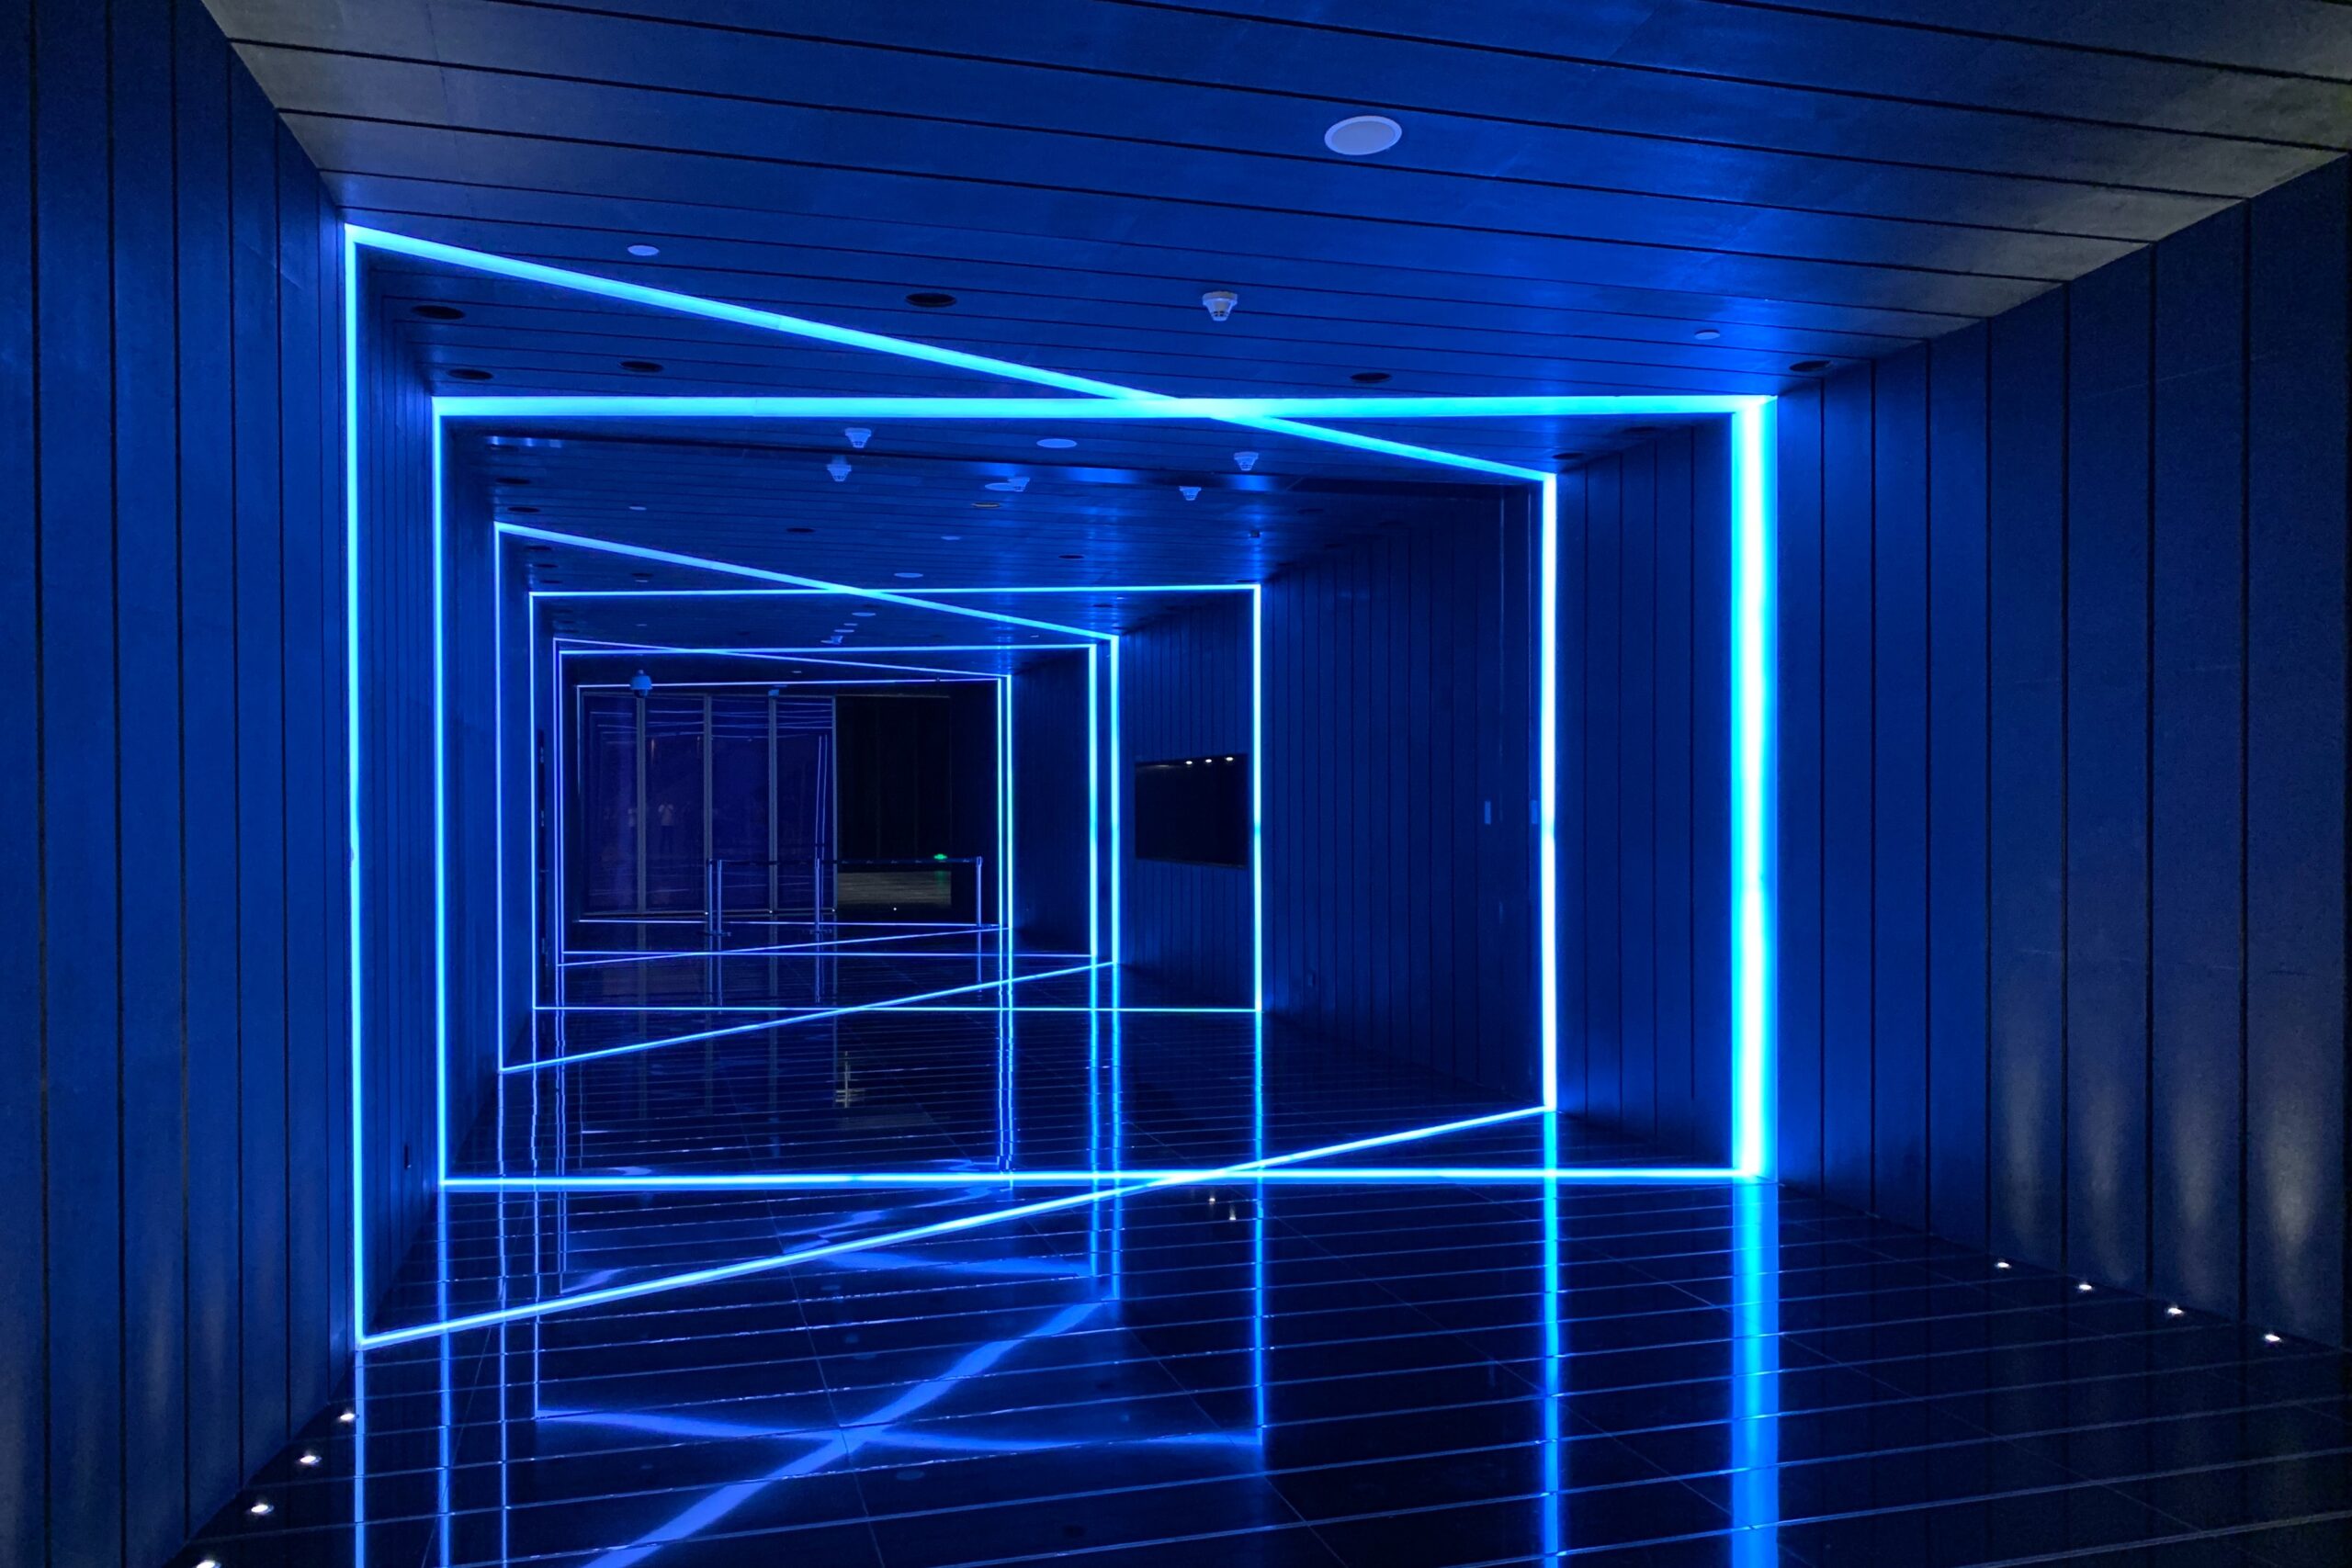
LED lights are a popular choice for adding a touch of ambiance and functionality to any space. Whether you want to highlight certain areas or create a cozy atmosphere, install LED lights can make a big difference. However, many people worry about damaging the paint when installing these lights. The good news is that with the right tools and techniques, you can put up LED lights without ruining the paint.
Here are the steps to follow:
1. Plan the Layout
Before you start installing the LED lights, it’s important to plan the layout. Consider the areas where you want to install the lights and how you want them to be positioned. This will help you determine the length and number of LED light strips you’ll need.
2. Clean the Surface
Before sticking the LED lights to the wall, make sure the surface is clean and free from dust and debris. Use a mild detergent and water solution to wipe down the area where you’ll be installing the lights. Allow it to dry completely before moving on to the next step.
3. Use Adhesive Hooks or Clips
One of the easiest ways to install LED lights without damaging the paint is by using adhesive hooks or clips. These hooks or clips can be easily attached to the wall and provide a secure hold for the LED light strips. Make sure to choose hooks or clips that are specifically designed for use on painted surfaces.
4. Apply Masking Tape
If you’re concerned about the adhesive hooks or clips leaving marks on the paint, you can apply masking tape to the wall first. This will create a protective barrier between the hooks or clips and the paint. Once the tape is in place, attach the hooks or clips and then remove the tape.
5. Use Removable Mounting Strips
Another option for installing LED lights without damaging the paint is to use removable mounting strips. These strips provide a strong hold and can be easily removed without leaving any residue or marks on the wall. Follow the instructions on the mounting strips for the best results.
6. Test the Lights
Before securing the LED light strips in place, it’s important to test them to ensure they’re working properly. Connect the lights to the power source and check that all the LEDs are lighting up. This will save you the hassle of having to remove and reposition the lights later on.
7. Secure the LED Light Strips
Once you’ve tested the lights, carefully secure the LED light strips to the hooks, clips, or mounting strips. Make sure they’re positioned correctly and evenly spaced. Press down firmly to ensure a strong bond between the lights and the surface.
8. Hide the Wires
If you want a cleaner look, you can hide the wires of the LED lights. Use wire clips or adhesive cable management clips to keep the wires neatly in place along the wall or baseboard. This will give your installation a more professional and polished appearance.
By following these steps, you can easily install LED lights without damaging the paint. Remember to take your time and be careful during the installation process. With the right tools and techniques, you can enjoy the benefits of LED lighting while keeping your walls looking pristine.


